It’s a dirty job, but someone has to do it. Why? Because a dirty gas grill can malfunction, smell strange, affect the taste of your food, or break down altogether.
Luckily, you don’t have to deep clean your gas grill more than once or twice a year. If you’re a heavy griller, clean it twice a year (usually once before and once during grilling season). If you only grill once a week or less, you can get away with cleaning your grill at the beginning of the grilling season. In this article, you’ll discover how to clean a gas grill, step by step.
Here’s a quick breakdown of how to clean a gas grill step by step:
- Gather Supplies
- Turn off and Remove the Gas
- Clean the Grates
- Clean the Burner Plates
- Clean the Burners
- Clean the Cook Box
- Clean the Lid
- Clean the Grease Tray
- Clean the Outside of the Grill
- Put it Back Together
Step 1: Gather Supplies
First, you’ll want to gather supplies. We’ve included a list of suggested products and tools for your convenience.
- Grill Brush
- Regular dish sponge
- Steel wool sponge
- Coarse cleaning brush
- Dish soap and water
- Putty knife or scraper
- Gloves (if you want them)
- Baking soda and vinegar for tough-to-clean grates
- Rags or paper towels
- Grill cleaner (if you want)
If you’d like to get the majority of what you need in one purchase, check out this Weber Grill Cleaning Kit!

Step 2: Turn Off and Remove The Gas
Some people advocate turning on your grill for a little while to get everything hot and loosen up the food residue and grease stuck on the inside. If you have the time to let your grill cool after this, I say go for it. You can scrape your grates down when they’re hot to get some of the gunk off. But, ideally, you’re already doing this whenever you finish grilling anyway. So, why do it now?
Once your grill is thoroughly cool (if you heated it), turn off your gas tank by turning the valve clockwise until it stops. You can then remove the tank from your grill by unscrewing the regulator.
Removing the tank from your grill eliminates the risk of inhaling gas while you work, or any other type of gas-related explosion or accident. Of course, gas grills don’t just explode out of nowhere. But, still, better safe than missing your eyebrows.
Step 3: Clean the Grates

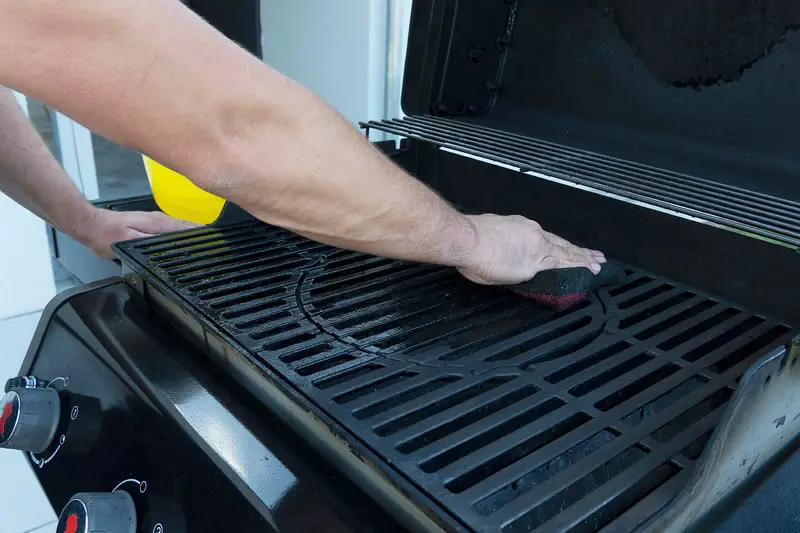
You can begin by cleaning the top of the grates with a dry brush while they sit in your grill. Once you’ve cleaned the top of the grates, remove them and clean the underside on a table or other flat surface. Once you’ve cleaned them with a dry brush, you can go to work with soapy water and a sponge (or grill cleaner, if you want to go that route.)
For Rusty or Tough to Clean Grill Grates
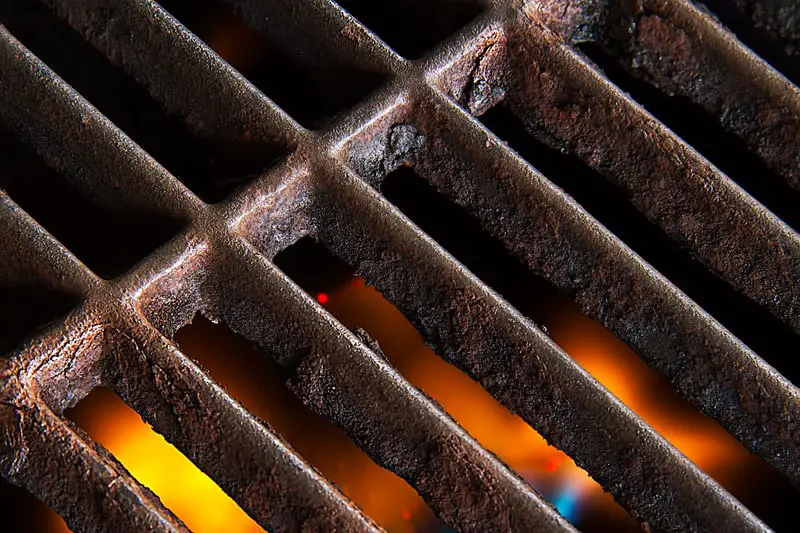
For rusty or particularly dirty grates, mix two parts baking soda with one part vinegar to make a paste. Coat the grates with the paste using a brush or rag. Let the mixture sit for 30 minutes to an hour before scrubbing it away with a sponge. If the rust or buildup persists, try letting it sit for a little while longer before scrubbing it away.
Related Article: How to Clean Rusty Grill Grates & Make Them Shine Like New
Step 4: Clean The Burner Plates
Once you have the cooking grates clean, the next step is the burner plates. These are the metal pieces that sit directly over the burner. Lots of food and juices accumulate on these, leaving a residue that can affect how the food above heats.
To clean the burner plates, use a dish sponge with soap and water. If you need to, let them soak in the soapy water before giving them a good scrub. Once finished, leave them out so you can clean the burners themselves.
Note: If you have porcelain or ceramic briquettes, you can clean them by soaking them in hot soapy water for fifteen minutes. Once you take them out, scrub away any debris with a sponge, rinse them, and then let them dry.
Step 5: Clean the Burners
At this point, you should be able to see the entirety of the burner tubes. You can clean them by taking them out; if you’re confident you can get them back in correctly. If not, you can clean them while they’re in the grill.
To do this, use a dish sponge with soapy water and gently scrub all around the burner tubes. It also gives you a chance to inspect the burners. If you see cracks on the burners, you should probably replace them. If you see anything obstructing the burner holes, you can use a stiff wire, a toothpick, or a pin to clean the holes.
Note: It’s always a good idea to clean your Venturi tubes any time you clean your grill. However, cleaning Venturi tubes sometimes requires basic tools. It always requires a little bit of time and patience. The Venturi tubes go from your burner control knobs to the burners themselves.
Insects and other debris can find their way into these small tubes and obstruct the flow of gas. Sometimes this causes the obstructed burner to have a low flame or no flame at all. In certain instances, it can cause a flashback fire. A flashback can damage your grill or burn your clothing and skin.
Removing your Venturi tubes for cleaning is different for every grill. Some tubes are attached to the burner, and you can lift them out without tools. Others require that you locate clips holding the burner and tubes to the grill. Still other designs may require that you have a wrench to remove the Venturi tubes.
Check your owner’s manual or look up your model number for details on how to safely remove and then reassemble your Venturi tubes. To clean them, you can use a small brush, a pipe cleaner, or even a water hose. Make sure they are free from all obstructions before placing them back in the grill.
Step 6: Clean the Cook Box
Chances are the bottom of your grill, underneath the burners, is pretty dirty. You may have black carbon flakes sticking there. You can use a putty knife or scraper to remove this buildup. Then, you can go over it with soapy water and a sponge or rag. Be sure to get the bottom and all four side walls! Leaving the carbon buildup on the bottom can make your grill start to smell funny.
Step 7: Clean the Lid
While you have that sponge handy, go ahead and clean the inside of your grill’s lid. Your lid may have carbon buildup on it as well. If you can’t get it off with the sponge, you can use your scraper or brush to loosen it up. Dish soap and water should do the trick to get the inside of your lid like-new again.
Step 8: Clean the Grease Tray
Next, empty your grill’s grease tray and clean it out. But don’t put it down the sink, as it can cause major plumbing issues. Instead, pour the grease in a container (such as a jar or bottle), let it solidify, and then throw the container away.
To clean the grease trap of any residue, your best bet is probably a couple of paper towels. Once you have most of the gunk out of it, you can use soap and water to clean it.
Step 9: Clean the Outside of the Grill
A quick wipe down with a soapy sponge or rag should do the job. If you have a grill cover, don’t forget to use it. If you don’t have one, this one on Amazon works just fine! Simply covering your grill when it’s not in use does a lot to keep it running well and looking great.
Step 10: Put it Back Together

Now you’re done with the cleaning. All you have to do is put your grill back together and reattach your fuel to start grilling.
If you want to cut down on cleaning the next time, layer the bottom of your grill in foil. When it comes time to clean your grill again, you can ball up the foil and throw it away, leaving little to no mess underneath.
Check For Gas Leaks
Once you have your grill back together and your fuel source connected, you can test for gas leaks. You can use soapy water to do this in a couple of minutes. Open your fuel tank so that you have gas in the line. With a sponge, rag, or brush, wet the fuel line with a mixture of soap and water. If you see bubbles forming on the line, you probably have a small hole in your gas line. You should replace it immediately.
Note: Soapy water is going to have bubbles in it already. The bubbles you’re looking for should form and break in a single spot as you watch. You should be able to place more soapy water on that spot and watch it happen again to make sure. Checking for kinks or leaks in your gas line should be done a few times a year, minimum.
That’s it! It wasn’t so hard, was it? Maybe a little dirty, but not that hard. Now you know how to clean a gas grill, step by step!

