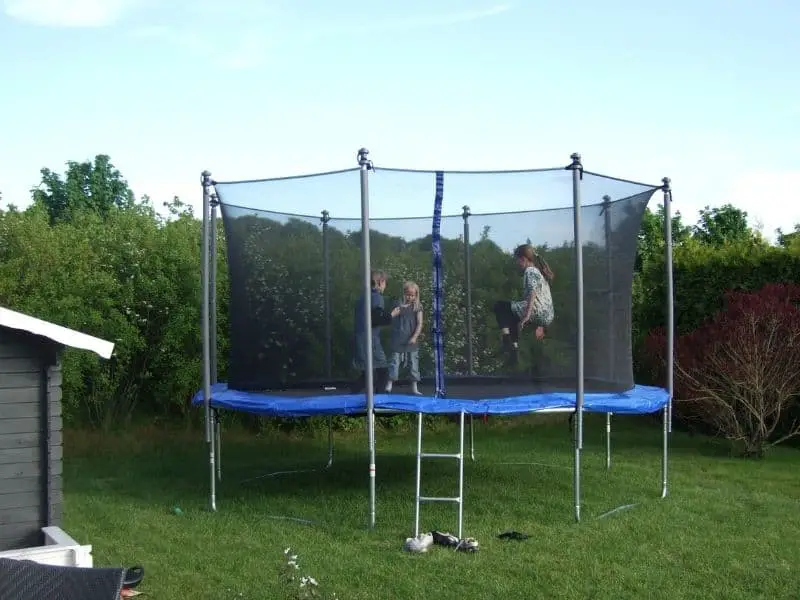
Getting a trampoline is an exciting experience. The kids are patiently waiting for you to put it together so they can play on it. Okay, so maybe they’re not patiently waiting. Maybe they’re running around on an overdose of sugar, bouncing off the walls because they don’t have the trampoline to bounce on. Either way, it’s exciting. But putting the thing together can be tedious. And many people wonder just how long it takes to put a trampoline together.
On average, trampolines take about 2-3 hours to assemble with two people. Larger trampolines can take longer being that they have more springs to attach.
Read on to learn all about what it takes to put a trampoline together, including all the tools you’ll need, the steps you’ll take, and some tips for making the process quick and easy. But before we jump into all that stuff, let’s answer one question we get a lot.
Can You Put a Trampoline Together By Yourself?
It’s certainly possible for one person to put a trampoline together. However, given the size of most backyard trampolines, it’s better with two people. Not only does having another person with you help make assembly quicker, but it also makes it safer.
Although trampolines aren’t really dangerous to put together, safety should always be a concern when assembling anything that’s large, heavy, and has springs that require tension for proper operation.
What Tools You’ll Need
Before you begin assembly, make sure you have all the tools you’ll need. Check the instruction manual first to see about any specific tools. For most trampolines, all the tools are typically:
- An Electric Drill
- A Rubber Mallet
- A Phillips Screwdriver (or a bit for the drill)
- Work Gloves
- A Spring Puller (may be included with the trampoline)
How Difficult is it To Assemble a Trampoline?
The difficulty level of assembling a given trampoline depends on its style. However, most backyard trampolines fall somewhere in the medium difficulty range. Obviously those without an enclosure net will be easier to put together than those with an enclosure net.
Those trampolines that have added features, such as a basketball hoop, will be slightly more difficult to assemble than those without added features. Additionally, if you get a Springfree trampoline, the process is generally more involved and takes longer, but is not much more difficult than other trampolines.
Like assembling anything fairly complex, putting together a trampoline is easiest when you have the proper tools, the room to work, the time to do it (so you’re not rushed), and a plan of attack. Of course, you’ll also want the instruction manual!
Tips for Putting a Trampoline Together Quickly and Easily
Here are some tips that can help you get the trampoline put together as quickly and easily as possible.
Know Where You’ll Put It
It’s important to know exactly where you’ll put the trampoline in the yard. But, you’ll want as much room as possible to work with, so don’t be afraid to spread out a little bit, if you have the room. You’ll want to spread out the components (step 1 below) near where you’ll have the trampoline, but not on the spot. Keep the area where the trampoline will stay clear of anything that is not needed as you assemble the trampoline.
This tip will prevent you from having to move the trampoline after you’ve assembled it.
Clear the Area
Once you know where the trampoline will go and where you’ll assemble it, it’s a good idea to clear the area of any debris. If you’re putting it on the grass, mow the area first. This way, if you drop a screw or some other piece of hardware, you can easily find it again.
Steps for Putting Together a Trampoline

Now for the fun part: a step-by-step guide for assembling your trampoline. Keep in mind that each trampoline manufacturer may make things a little different. So if you notice that something isn’t quite the same on your trampoline, use this as a guide and pay close attention to your instruction manual.
Step 1: Verify All Trampoline Components and Gather Your Tools
Trampolines are pretty heavy, so they come in multiple boxes. A smaller one, say around 10-feet, will likely come in two boxes. Larger ones may come in more.
Ensure that you have the correct boxes and that all the components are present and accounted for. This means removing them from the boxes and grouping them together, preferably with the frame components nearest you and the enclosure components furthest.
Once you’re certain that you have all the necessary components listed on the instruction manual, gather your tools and get ready to work!
Step 2: Put the Frame Together
Locate pieces of the frame that will come together to make a circle. Set these pieces out on the ground in the location on which the trampoline will stand. By positioning them on the ground like this, you’ll get an idea of how large the trampoline is and you can make any adjustments if necessary. Move the legs of the trampoline next to where they’ll be inserted in the circular frame.
Following your instruction manual, attach the legs to the circular frame. Most of the time, this is done easily with your hands, pushing the frame pieces down onto the legs. You may need help to start off the first leg.
Ensure that the legs are facing inward and that the holes on the legs and the frame line up. This is where the hardware will go.
Step 3: Fasten The Frame Together
Once you have the upper frame and the legs put together, you’ll want to work your way around, fastening the screws through the proper holes. This can be done with the Phillips screwdriver or the power drill with the Phillips bit. If you want to save some time, use the latter.
Once you’re done with this step, you should have a solid circular frame that doesn’t wobble when you touch it. If it does wobble, ensure that all the screws are fastened tightly.
Step 4: Attach the Jumping Mat With The Springs
This step can be tricky toward the end, but don’t worry, it’s not that hard when you know how to do it! Start by attaching every other spring to the mat and the frame. Most trampoline springs have different shaped hooks on either side. The hook that should attach to the triangle ring on the mat is usually almost a full circle. The hook that should attack to the frame is closer to a half or three-quarter circle.
It’s also important to note here that some trampolines come with nets that need to be attached by fastening them to the mat over the triangle rings before you put the springs on. If this is the case for your trampoline, make sure you do this so you don’t have to go back and detach springs to do it later. That’s not fun.
By attaching every other spring, it should be easier for you to attach the rest of the springs, even though the tension on the mat is growing with each one. When it gets hard, you can use the spring puller and the rubber mallet.
Simply hook the spring puller into the hook closest to the frame. Pull the spring and position the hook over the hole, then hit the top of the hook with the mallet, forcing it into the hole. Once it’s securely fastened, you can simply remove the spring puller and move on to the next one.
Step 5: Put on the Spring Pad
Take the circular protective spring pad and place it over the springs. Pay attention to any gaps on the edge of the pad where there’s a spot for an enclosure pole to go. You’ll want to line up those gaps with the holes, if that is how your trampoline is designed. Fasten the pad to the frame.
Step 6: Assemble the Enclosure Poles and Net
Enclosure nets come in many different styles, so be sure to follow your instruction manual to attach it properly. Most nets will need to be attached to the frame or the mat with bungee cords or some other fastener.
Most enclosure poles come in two pieces that need to be put together. They may also have foam sleeves that need to be placed on them for extra safety. Once this is done, place the poles in their designated positions and fasten them there if need be. Then attach the net to the top of the poles.
Note: Some nets need to be attached to the poles before you put the poles up. Follow the instructions for your particular trampoline.
Step 7: Enjoy!
Provided there are no more steps for your specific trampoline, it’s time to do some test bouncing! Be careful at first and make sure you check for any wobbling or springs that aren’t properly attached. If it’s wobbling, make sure to check the ground underneath the trampoline to ensure it is level and smooth. If everything looks good, you’re done!
In Conclusion
As you can see, putting a trampoline together may take a couple of hours, but it’s really not that hard. Some trampolines are definitely easier to put together than others, but none of them are so hard that you won’t be able to do it in an afternoon. The most important things to do are ensure that you have the right tools, enough time, and a person to help you. You and your kids will be bouncing away in no time!

